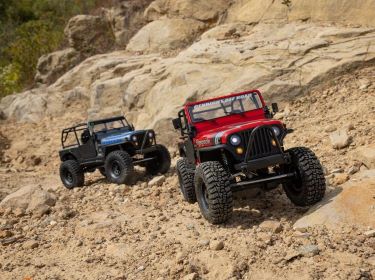
A SMARTER UTB18
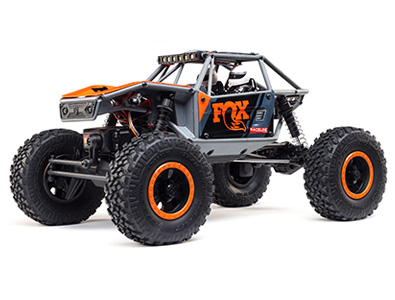
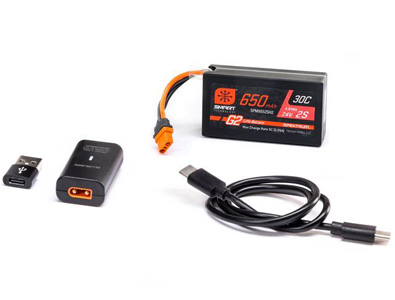
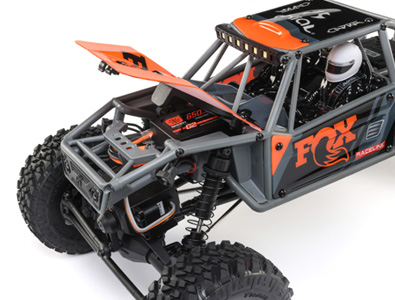
The popular and versatile UTB18 Capra is an even smarter choice for crawlers thanks to the addition of a Spektrum SMART G2 LiPo battery and SMART USB charger. Charge with confidence and ease thanks to Spektrum Smart Technology.
AXIAL EVENT CALENDAR
VIEW CALENDARFIND US IN NATURE
View Blog
38.5733° N, 109.5498° W
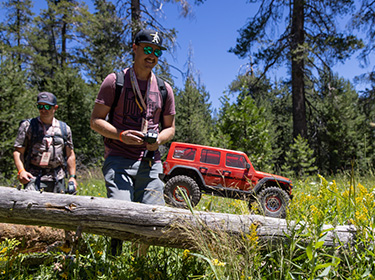
Join the team as they crawl through their trails in Moab, Utah
Learn More
51.8815° N, 3.4435° W
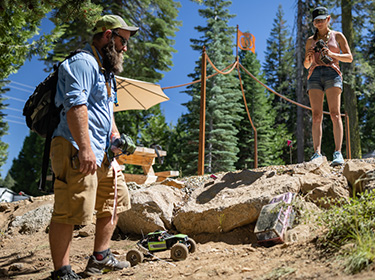
Join this father and son duo as they enjoy an RC adventure in Wales
Learn More
40.11642° N, -88.24338° W
Welcome to the new Axial Adventure Website!
Learn More@AXIALVIDEOS | Come Adventure With Us.

#MyAxialAdventure - Wales
axialadventure
Where To Next?
My Axial Adventures are usually spent with friends or my son. This film shows the time we recently spent together in Wales, in particular Brecon Beacons and Snowdonia. I used to come here when I was younger and loved climbing, hiking and just hanging out. So that's what we did – with a little wild camping, cooking and RC's thrown in for good measure. With no real phone network it really was an adventure with no distractions. Father and son time that I cherished and he thoroughly enjoyed - where will your adventure be?
My Axial Adventures are usually spent with friends or my son. This film shows the time we recently spent together in Wales, in particular Brecon Beacons and Snowdonia. I used to come here when I was younger and loved climbing, hiking and just hanging out. So that's what we did – with a little wild camping, cooking and RC's thrown in for good measure. With no real phone network it really was an adventure with no distractions. Father and son time that I cherished and he thoroughly enjoyed - where will your adventure be?

Axial® SCX10™ III Base Camp™ 4WD Crawler RTR
axialadventure
The 1/10 scale Axial® SCX10™ has long been the RC vehicle platform of choice for scale trail enthusiasts, providing exciting detail and superior off-road performance. Now, with the ready-to-run SCX10™ III Base Camp™ 4WD, even cost-conscious crawling fans can experience the unmatched performance of Axial® engineering. The Base Camp™ 4WD is the most bang for your buck available in a 1/10 scale Axial® rig!

Axial® SCX24™ Ford Bronco 4WD RTR
axialadventure
Axial® reaches a new peak in 1/24 scale realism with this licensed Ford Bronco 4WD that tops the proven SCX24™ platform with a highly detailed ABS hard body. Ideal for indoor or outdoor trails, it’s a must for Ford fans and RC enthusiasts of all ages!

Behind The Scenes with @Larry Chen - Axial® SCX™ Family Shoot
axialadventure
Come behind the scenes and watch the one and only @Larry Chen work as he shoots the Axial® SCX™ Family of Jeep JLU's!


